Wellness Wisdom — Creativity
Categories
- 13 Days of Yule
- Ahsoka
- Air
- Ancestors
- Ancient Ways
- Animals
- Armor
- Army
- Art
- Believe
- Betrayal
- beyonce
- brokenness
- Challenges
- Cleansing
- Community
- Connection
- Craft
- Creativity
- Earth
- Earth Holidays
- Elements
- energy
- Family
- Family Kit
- Fire
- Forgiveness
- Gold
- Gratitude
- healing
- Healing Kit
- Hope
- Instructions
- Japanese
- Joy
- Kintsugi
- Kintsugi Bowl
- light
- Love
- Marriage
- Mindful New Year
- Mindfulness
- Mothers
- New Year
- New Years Resolution
- Online Ceremony Course
- Pagan
- Pagan Festival
- Pagan Ritual
- Play
- power
- presence
- Prosperity
- Rebirth
- Reflection
- Renewal
- Resilience
- sandcastles
- scars
- solar
- Star Wars
- Storm Troopers
- strength
- sun
- teamwork
- Ted Lasso
- The Man in the High Castle
- Tips
- Troopers
- TV Series
- User Guide
- Vision
- Vulnerability
- Warriors
- Water
- Winter Solstice
- Yule
- Yule Ritual
What to Know Before Starting to Craft your Kintsugi Bowl
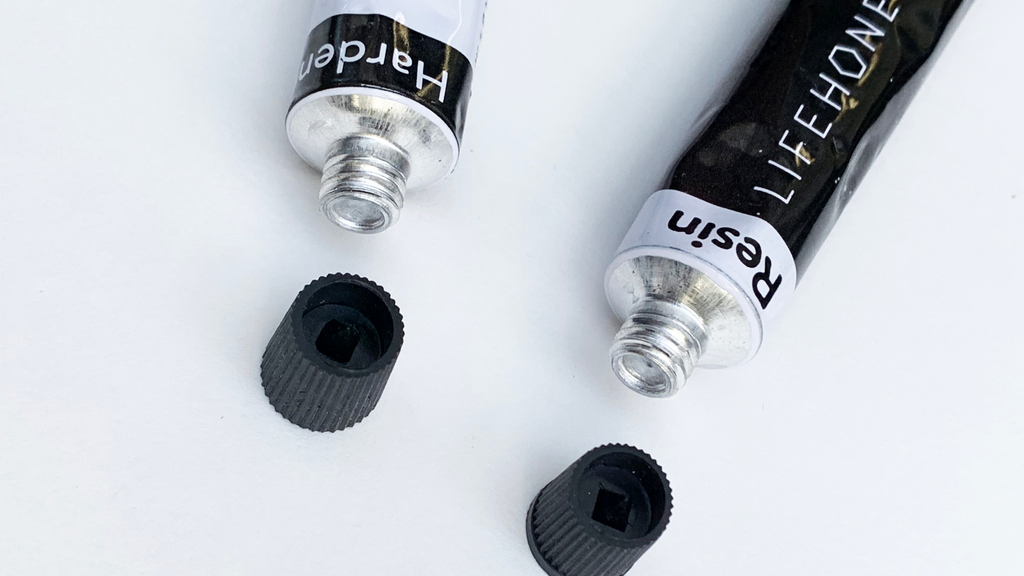
As you embark on this creative adventure, LIFEHONEY® wants to provide you with some essential tips to ensure a seamless and fulfilling experience with your Kintsugi Kit: 1. READ AND UNDERSTAND INSTRUCTIONS:Carefully read the instructions provided in your User Guide and watch your Online Ceremony Course that accompanies your kintsugi kit. Understanding the materials and the step-by-step process is crucial for a successful repair. 2. BUILD FROM THE BOTTOM UP:Start bonding from the base of the Bowl and work your way out & up from there. 3. PATIENCE IS KEY:Allow each layer of epoxy to dry before moving on to the next step. How will you know if you’re rushing the process? The pieces won’t stick! 4. PRECISION IN MIXING:Use equal parts resin and hardener. Inconsistencies in the mixture can affect the ability for the bonding to occur. 5. APPLY EPOXY IN THIN LAYERS:Apply the epoxy in thin layers. The thicker the layer, the longer it takes to bond.6. DO NOT CRAFT IN THE COLD:The colder it is, the longer it takes to bond. If the temperature feels good to you, it probably feels good to your kintsugi pieces too! 7. EMBRACE IMPERFECTIONS:Kintsugi celebrates imperfections. Embrace the uniqueness of each...

